



If you enjoy woodworking or DIY projects, you have probably come across brad nails before. These small, thin nails let you attach wood without leaving a large hole behind.
So, what are brad nails used for?
Brad nails are commonly used for trim, molding, cabinets, small furniture, picture frames, and other light woodworking projects. Because of their thin design, they give you a neat finish without the bulk of a larger nail.
That said, brad nails are not the right fit for every job. The best choice depends on the material, the size of the project, and how much strength the joint actually needs.
This guide walks through how brad nails work, where to use them, how to pick the right size, and how to avoid common mistakes.
What Is a Brad Nail?
A brad nail is a thin fastener, usually made from 18-gauge wire, with a small head and a narrow shank. As a result, it leaves a relatively small hole in the material.
Thanks to this slim design, brad nails work well on light trim and other finishing jobs. They’re also handy for holding small wooden pieces in place while wood glue dries.
Most brad nails are driven with an 18-gauge brad nailer. Depending on the tool, common brad lengths range from about 5/8 inch to 2 inches. Since some nailers accept different sizes, always check your manual for the specifics of your model.
What Are Brad Nails Used For?
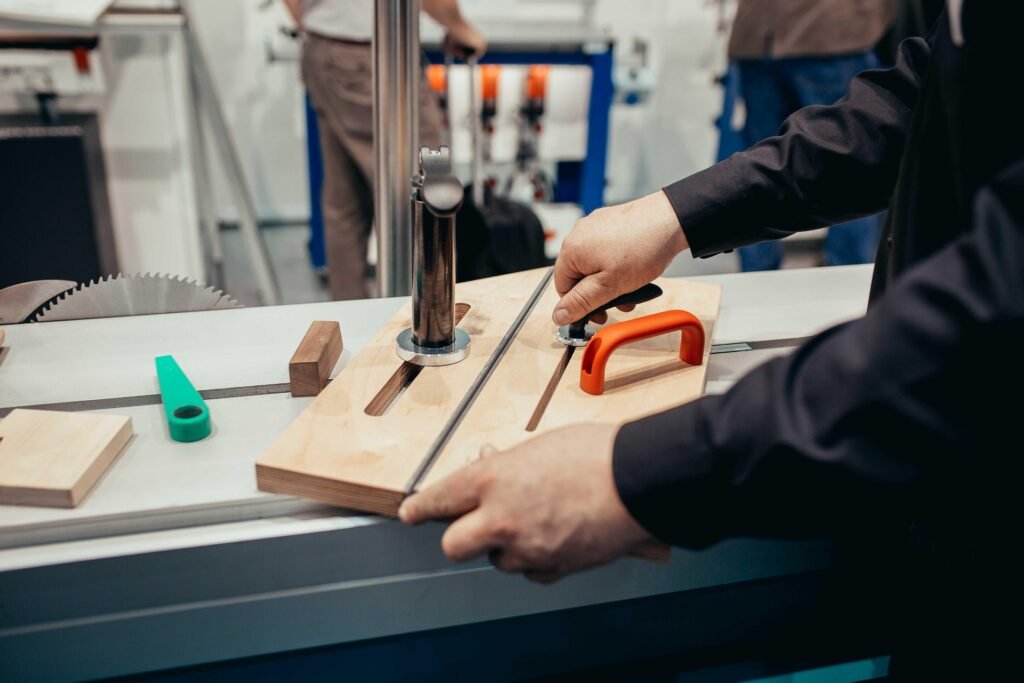
Brad nails are mainly meant for light fastening and finishing work, especially in places where appearance matters. Here are some of the most common uses.
1. Trim and Molding
Trim is one of the most common uses for brad nails. You can use them for:
- Shoe molding
- Small decorative molding
- Window trim
- Door trim
- Beading
- Light paneling
- Small molding profiles
Because the nail head is so small, the finished surface is easier to hide and touch up afterward.
2. Cabinetry
Brad nails also come in handy for cabinet work, particularly on lighter parts and decorative pieces. For instance, you can use them for:
- Cabinet trim
- Decorative pieces
- Small molding
- Thin backing material
- Lightweight panels
For major structural joints, however, a stronger fastening method is usually a better choice.
3. Furniture Projects
Similarly, brad nails suit many small furniture builds. They can help with:
- Picture frames
- Wooden boxes
- Birdhouses
- Small tables
- Decorative furniture
- Hobby projects
When paired with wood glue, brads hold the pieces steady while the glue sets.
4. DIY and Craft Projects
DIYers often reach for brad nails since they leave a small hole and work easily with a compatible nailer. They’re a solid option for:
- Wooden signs
- Decorative boxes
- Small shelves
- Picture frames
- Crafts
- Lightweight woodworking projects
For very delicate pieces, though, a 23-gauge pin nail may serve you better.
Brad Nails vs. Finish Nails vs. Pin Nails
Brad nails are just one type of finishing nail — pin nails and finish nails differ in size and purpose.
| Feature | Pin Nails | Brad Nails | Finish Nails |
|---|---|---|---|
| Common Gauge | 23-gauge | 18-gauge | 15- or 16-gauge |
| Head | Very small or headless | Small | Larger |
| Holding Power | Lower | Moderate | Higher |
| Best For | Very delicate work | Light trim and woodworking | Heavier trim |
| Hole Size | Very small | Small | Larger |
| Typical Use | Tiny trim and veneers | Molding, cabinets, crafts | Baseboards and heavier trim |
In short, smaller nails tend to leave smaller holes, while larger nails generally offer more holding power. That’s what makes an 18-gauge brad a useful middle ground between a tiny pin nail and a bulkier finish nail.
When Should You Use Brad Nails?
Overall, a brad nail is a good choice when:
- You’re attaching light material
- You want a clean finish
- The joint doesn’t need heavy structural strength
- You’re installing small trim or molding
- You’re building a small woodworking project
- You’re attaching decorative pieces
- You’re using wood glue as part of the joint
On the other hand, a heavy or load-bearing joint usually calls for screws, larger finish nails, or another sturdier fastener.
Choosing the Right Brad Nail Length
Nail length matters just as much as gauge. If a nail is too short, it may not hold the material well; conversely, one that’s too long can pass straight through and cause damage.
The right length depends on a few things:
- The thickness of the material
- What’s behind the material
- The type of joint
- Your nailer’s specifications
- The requirements of the project
Because of this, there’s no single nail length that works for every project.
A simple tip for beginners: whenever you’re unsure, test the nail on a scrap piece of wood first. This quick check tells you whether the nail holds properly and whether it pokes through the other side.
Brad Nails and Wood Glue
Brad nails and wood glue actually work best as a team. The glue forms the main bond between the pieces, while the brads hold everything in position as it dries. This combination is especially useful for:
- Small boxes
- Picture frames
- Trim
- Cabinet parts
- Decorative projects
- Small furniture
Still, don’t assume glue and brads are always enough for a structural joint. Consider the weight and purpose of the finished piece before relying on them alone.
Setting the Air Pressure
If you’re using a pneumatic brad nailer, air pressure plays a big role in the final result. Since there’s no universal PSI setting for every nailer, the safest approach is to follow the range listed in your tool’s manual.
Start within the recommended range, then test a few nails on scrap wood. If the nail head stays above the surface, the tool may need a bit more driving force — but always within its approved range. If the nail sinks too deep, reduce the pressure or adjust the depth setting if your nailer has one. Above all, never exceed the maximum pressure your manufacturer recommends.
Adjusting the Depth of Drive
Many brad nailers include a depth-adjustment feature, which lets you control how deeply the nail enters the material. Ideally, the nail should sit flush with the surface or slightly below it, depending on the material and finish.
Before starting on your actual project, test the setting on scrap wood first. A nail driven too deep can leave a noticeable dent, while one that doesn’t go deep enough may stay visible. So, make small adjustments until you get a clean result.
How Brad Nails Behave in Different Materials
Different materials react differently once you drive a thin nail into them.
Softwood is generally easy to nail, although splitting can occur if you place a nail too close to an edge. Testing the position first helps prevent this.
Hardwoods such as oak and maple are denser than most softwoods. Consequently, a thin brad can sometimes bend or deflect when it hits dense grain or a knot. If this keeps happening, check the nail length, position, and tool settings.
MDF behaves differently from natural wood — a brad driven too hard can compress the material around the hole and leave a small raised area. If you plan to paint the project, light sanding and good surface prep will help you get a smooth finish.
Plywood generally works well with brad nails for light assembly and trim. However, since plywood has several layers, grain direction can affect how the nail travels, so be extra careful near edges.
What Is Brad Nail Blowout?
Blowout occurs when a nail strays from its intended path and exits through the side or another unwanted part of the material. This tends to happen when a brad hits:
- A hard knot
- Dense wood grain
- An awkward grain direction
- The edge of another piece
- A difficult joint
Since brad nails are thin, they can bend fairly easily when they meet resistance.
How to Reduce Blowout
Fortunately, you can lower the risk with a few simple habits:
- Avoid placing nails too close to an edge
- Test difficult areas on scrap wood first
- Be extra careful around knots
- Position the nailer correctly
- Use the correct nail length
- Keep your hands away from the nail’s possible exit path
Most importantly, never assume a nail will always travel in a perfectly straight line.
Brad Nailer Safety Tips
Even though a brad nailer looks small, it’s still a power tool. Always wear proper eye protection and keep your hands well clear of the nail’s path, since a nail can bend or deflect if it strikes a hard spot in the wood.
A few basic rules to follow:
- Wear safety glasses
- Never point the nailer at yourself or anyone else
- Keep your free hand away from the nail’s possible path
- Keep your finger off the trigger until you’re ready to fire
- Don’t disable the nailer’s safety features
- Disconnect the air supply or remove the battery before clearing a jam
- Follow the instructions supplied with your specific nailer
Good safety habits matter just as much as picking the right nail. For a deeper look at safe nail-gun practices, OSHA’s official Nail Gun Safety guide is a solid reference.
Straight vs. Angled Brad Nailers
You’ll typically find both straight and angled brad nailers on the market. A straight nailer feeds nails directly through the tool and works well for most general woodworking, trim, and cabinet projects. An angled nailer, on the other hand, places the magazine at an angle, which can make it easier to reach tight corners or awkward spots.
That said, angled 18-gauge systems aren’t universal — the nail angle and fastener type must match your specific nailer. So, always check your tool’s specs before buying angled brads.
Common Problems When Using Brad Nails
The nail bends — Usually caused by a knot, dense grain, or another hard spot. Check the nail length, tool settings, and position before continuing.
The wood splits — Often happens when a nail sits too close to an edge or end. Moving it slightly farther in can help.
The nail goes too deep — This typically means the driving force is too high. Reduce the pressure within the approved range, or adjust the depth setting.
The nail head sticks out — If the nail hasn’t gone in far enough, check your depth setting and, if applicable, your air pressure.
The nail comes out the side — This usually signals deflection or blowout. Stop and check the nail position, material, length, and tool setup before trying again.
Do Brad Nail Holes Need to Be Filled?
Not always. Since brad nails leave relatively small holes, they may barely be noticeable on some surfaces. For smooth, painted wood, though, filling the holes will give you a cleaner finish. Here’s a simple process:
- Apply a small amount of suitable wood filler
- Let it dry
- Sand the area smooth
- Apply primer or paint
If you plan to stain the wood instead, test the filler first — some fillers absorb stain differently than the surrounding wood.
Can You Use Brad Nails for Baseboards?
Yes, brad nails work well for lighter and smaller baseboard profiles. Larger, heavier baseboards, however, may need a stronger fastening method. What matters most is the size of the trim, the material behind it, and the holding strength the job requires — not just which nail leaves the smallest hole.
Can Brad Nails Hold Shelves?
Generally speaking, no — brad nails shouldn’t serve as the main support for a load-bearing shelf. A shelf carrying books, tools, dishes, or other heavy items needs proper supports and fasteners rated for that load. Brad nails are better suited to attaching lightweight decorative parts, not replacing real shelf hardware.
Common Mistakes to Avoid
- Using brad nails for structural work — they’re built for light woodworking and finishing, not heavy-duty joints.
- Choosing the wrong nail length — too short won’t hold; too long may pass through.
- Ignoring tool compatibility — not every 18-gauge nail fits every 18-gauge nailer, so check length, angle, and collation type first.
- Skipping the scrap-wood test — a few test nails can save you from damaging expensive trim or furniture.
- Using too much pressure — higher isn’t always better; stay within the manufacturer’s range.
- Putting your hand in the nail’s path — never hold a workpiece where a deflected nail could reach it.
A Simple Brad-Nailing Process
If you’re new to brad nailers, here’s a straightforward process to follow:
- Choose a compatible 18-gauge brad
- Select a suitable nail length
- Load the nailer according to its instructions
- Set the air pressure if using a pneumatic model
- Adjust the depth of drive
- Test several nails on scrap material
- Position the workpiece securely
- Keep your hands away from the nail path
- Drive the brad
- Check the result and adjust as needed
Taking a few extra minutes to test your setup can make a real difference in the final result.
Frequently Asked Questions
What are brad nails mainly used for?
Brad nails are mainly used for light trim, molding, cabinetry, decorative work, picture frames, and small woodworking projects.
What size are brad nails?
Brad nails are commonly 18-gauge, with lengths typically ranging from around 5/8 inch to 2 inches, depending on the nailer.
Are brad nails strong?
They offer solid holding power for light woodworking and finishing work, but they’re not designed to replace structural fasteners in heavy load-bearing applications.
Can I use brad nails on hardwood?
Yes, though dense grain and knots raise the chance of bending or deflection. It’s worth testing on scrap wood first.
Can I use brad nails in MDF?
Yes, brad nails generally work well in MDF, but driving them too aggressively can compress the material around the hole.
Should I use glue with brad nails?
Yes — the glue creates the bond, while the brads hold everything in position while it sets.
What PSI should an 18-gauge brad nailer use?
There’s no single PSI setting for every nailer; check your manufacturer’s operating range and test on scrap material.
What is nail blowout?
Blowout happens when a nail strays from its intended path and exits through the side or another unwanted part of the material.
Do brad nail holes need wood filler?
Not always, but filling them can create a smoother finish on painted or highly visible surfaces.
Are straight or angled brad nailers better?
Neither is automatically better — straight models suit most common jobs, while angled ones help in tight or awkward areas. Either way, the nailer and nail must be compatible.
Can brad nails be used for baseboards?
Yes, for lighter profiles. Heavier trim may need a stronger fastening method.
Can brad nails hold shelves?
Not as the primary support — use proper shelf hardware rated for the expected load instead.
Final Thoughts
Brad nails remain a reliable choice for many woodworking and DIY projects, offering a good balance of holding power, speed, and a clean finish. They shine especially in trim, molding, cabinetry, picture frames, small furniture, and decorative work.
The real key is knowing their limits. Choose the right nail length, use a compatible nailer, follow the manufacturer’s pressure recommendations, and always test on scrap material before starting the real project.
Above all, use brad nails for the jobs they’re built for — and when a project demands serious structural strength, reach for a fastener designed to handle that load. With the right nail, the right tool, and a bit of practice, brad nails can help you get clean, professional-looking results across a wide range of DIY projects.
